
Are you looking for an easy Halloween craft that is great for kids of all ages? I have the perfect Halloween bat craft for you!
The Halloween season is my favorite and I love being able to decorate and my favorite Halloween decoration is my son’s art.
It’s so much fun kicking off the Halloween season with an easy craft that doubles for a Halloween decoration and my son is always so proud to see his art project hung up.
The best part about this cute bat activity is it’s super easy, takes minimal prep and materials and can be done by kids of all ages, plus your kids will have a great time! Get ready to have so much fun making this flapping bat craft!
And why not pair it with a coffee filter bat craft?
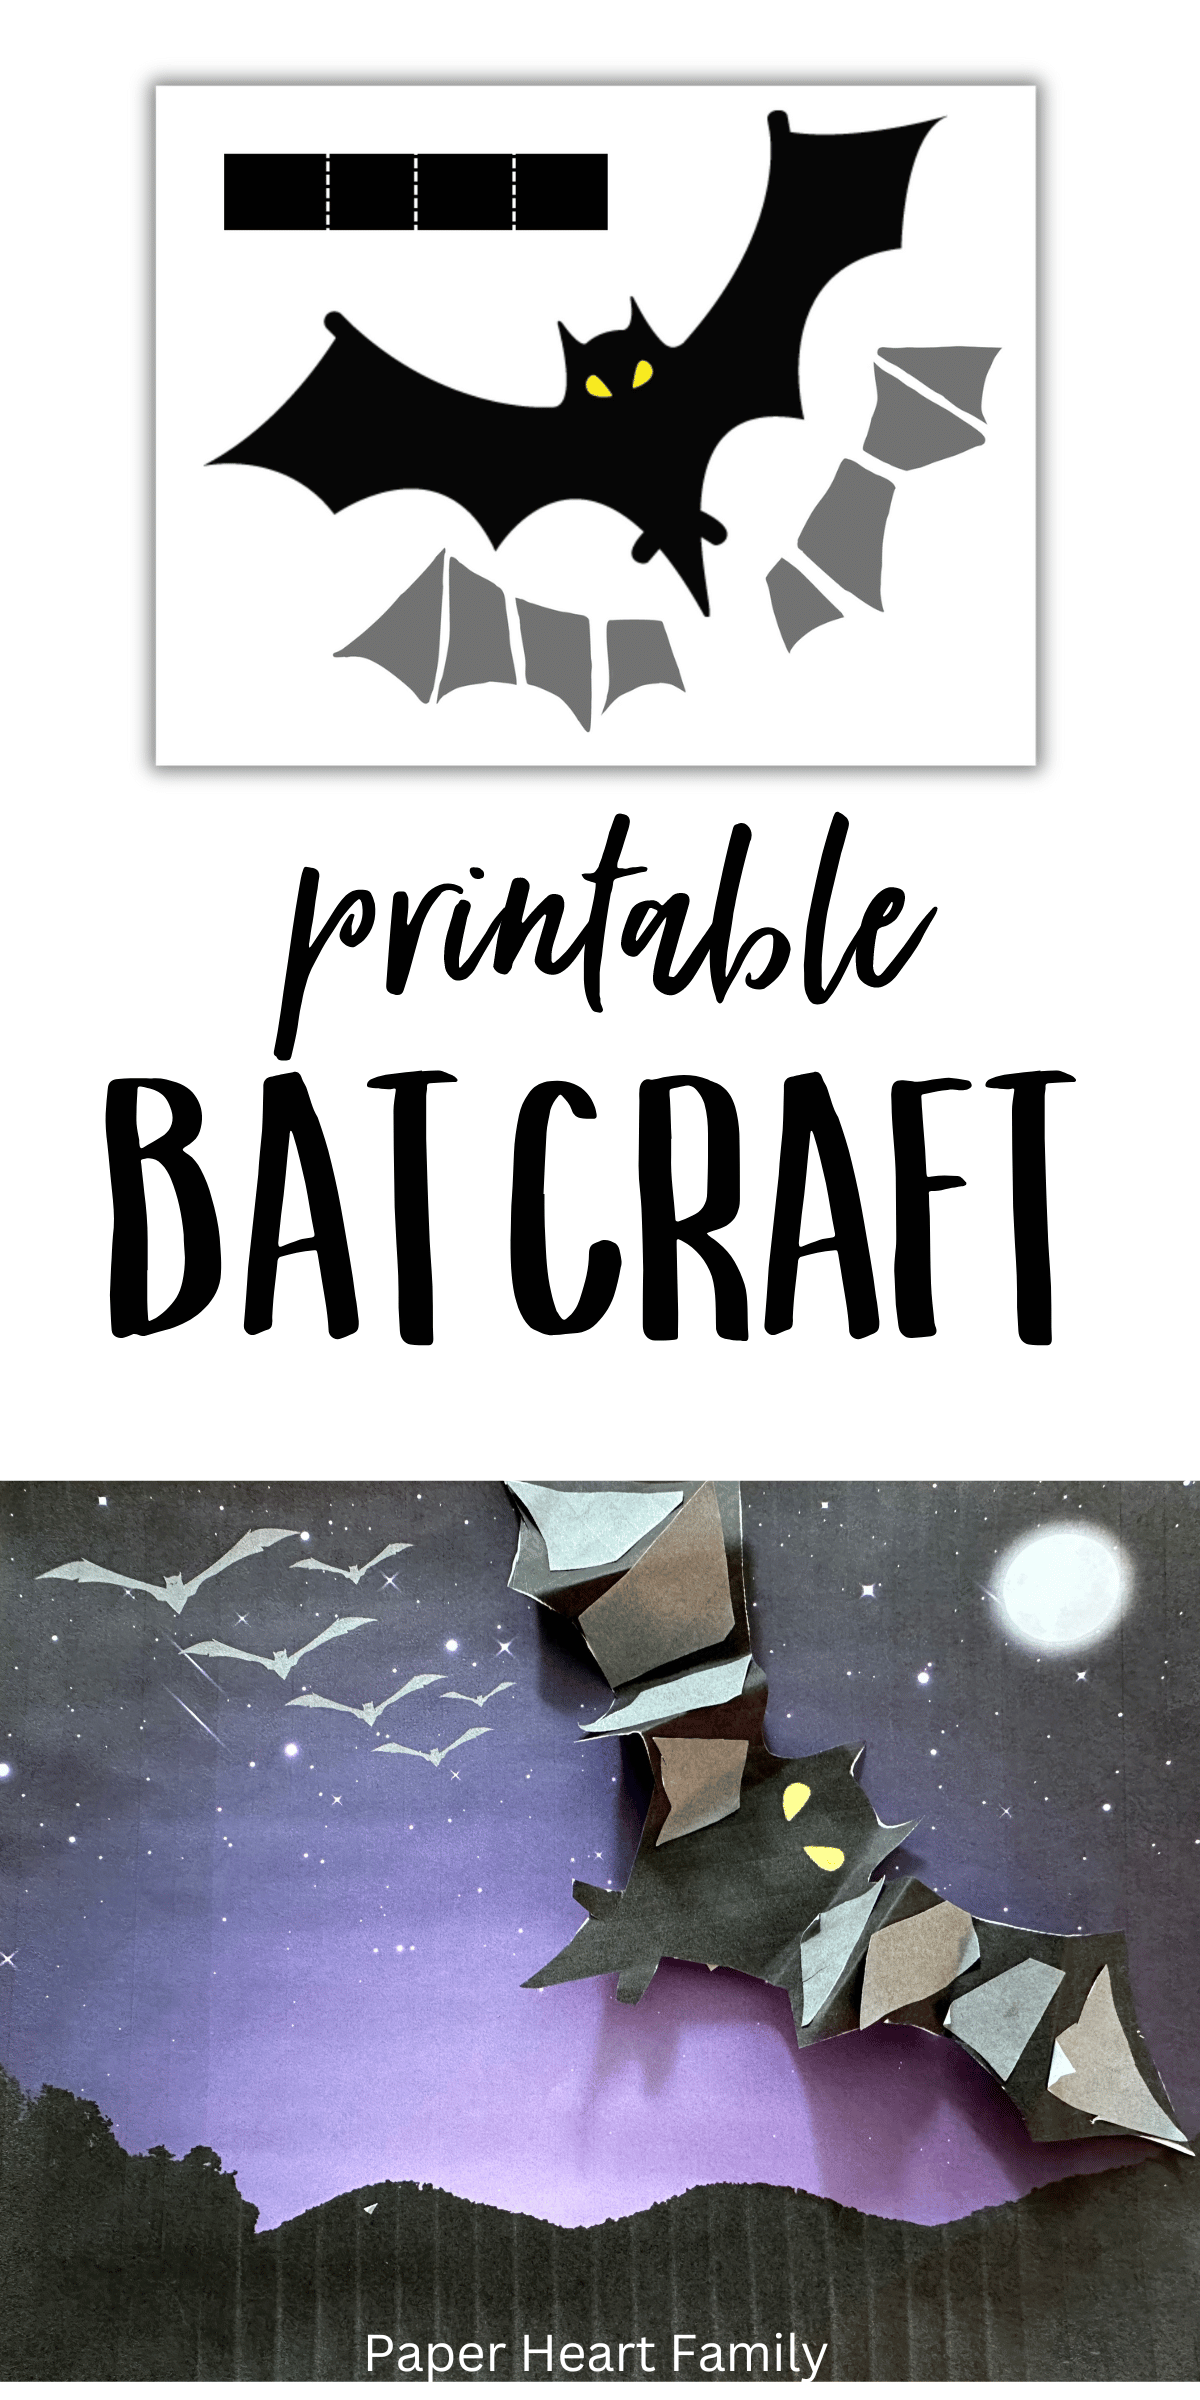
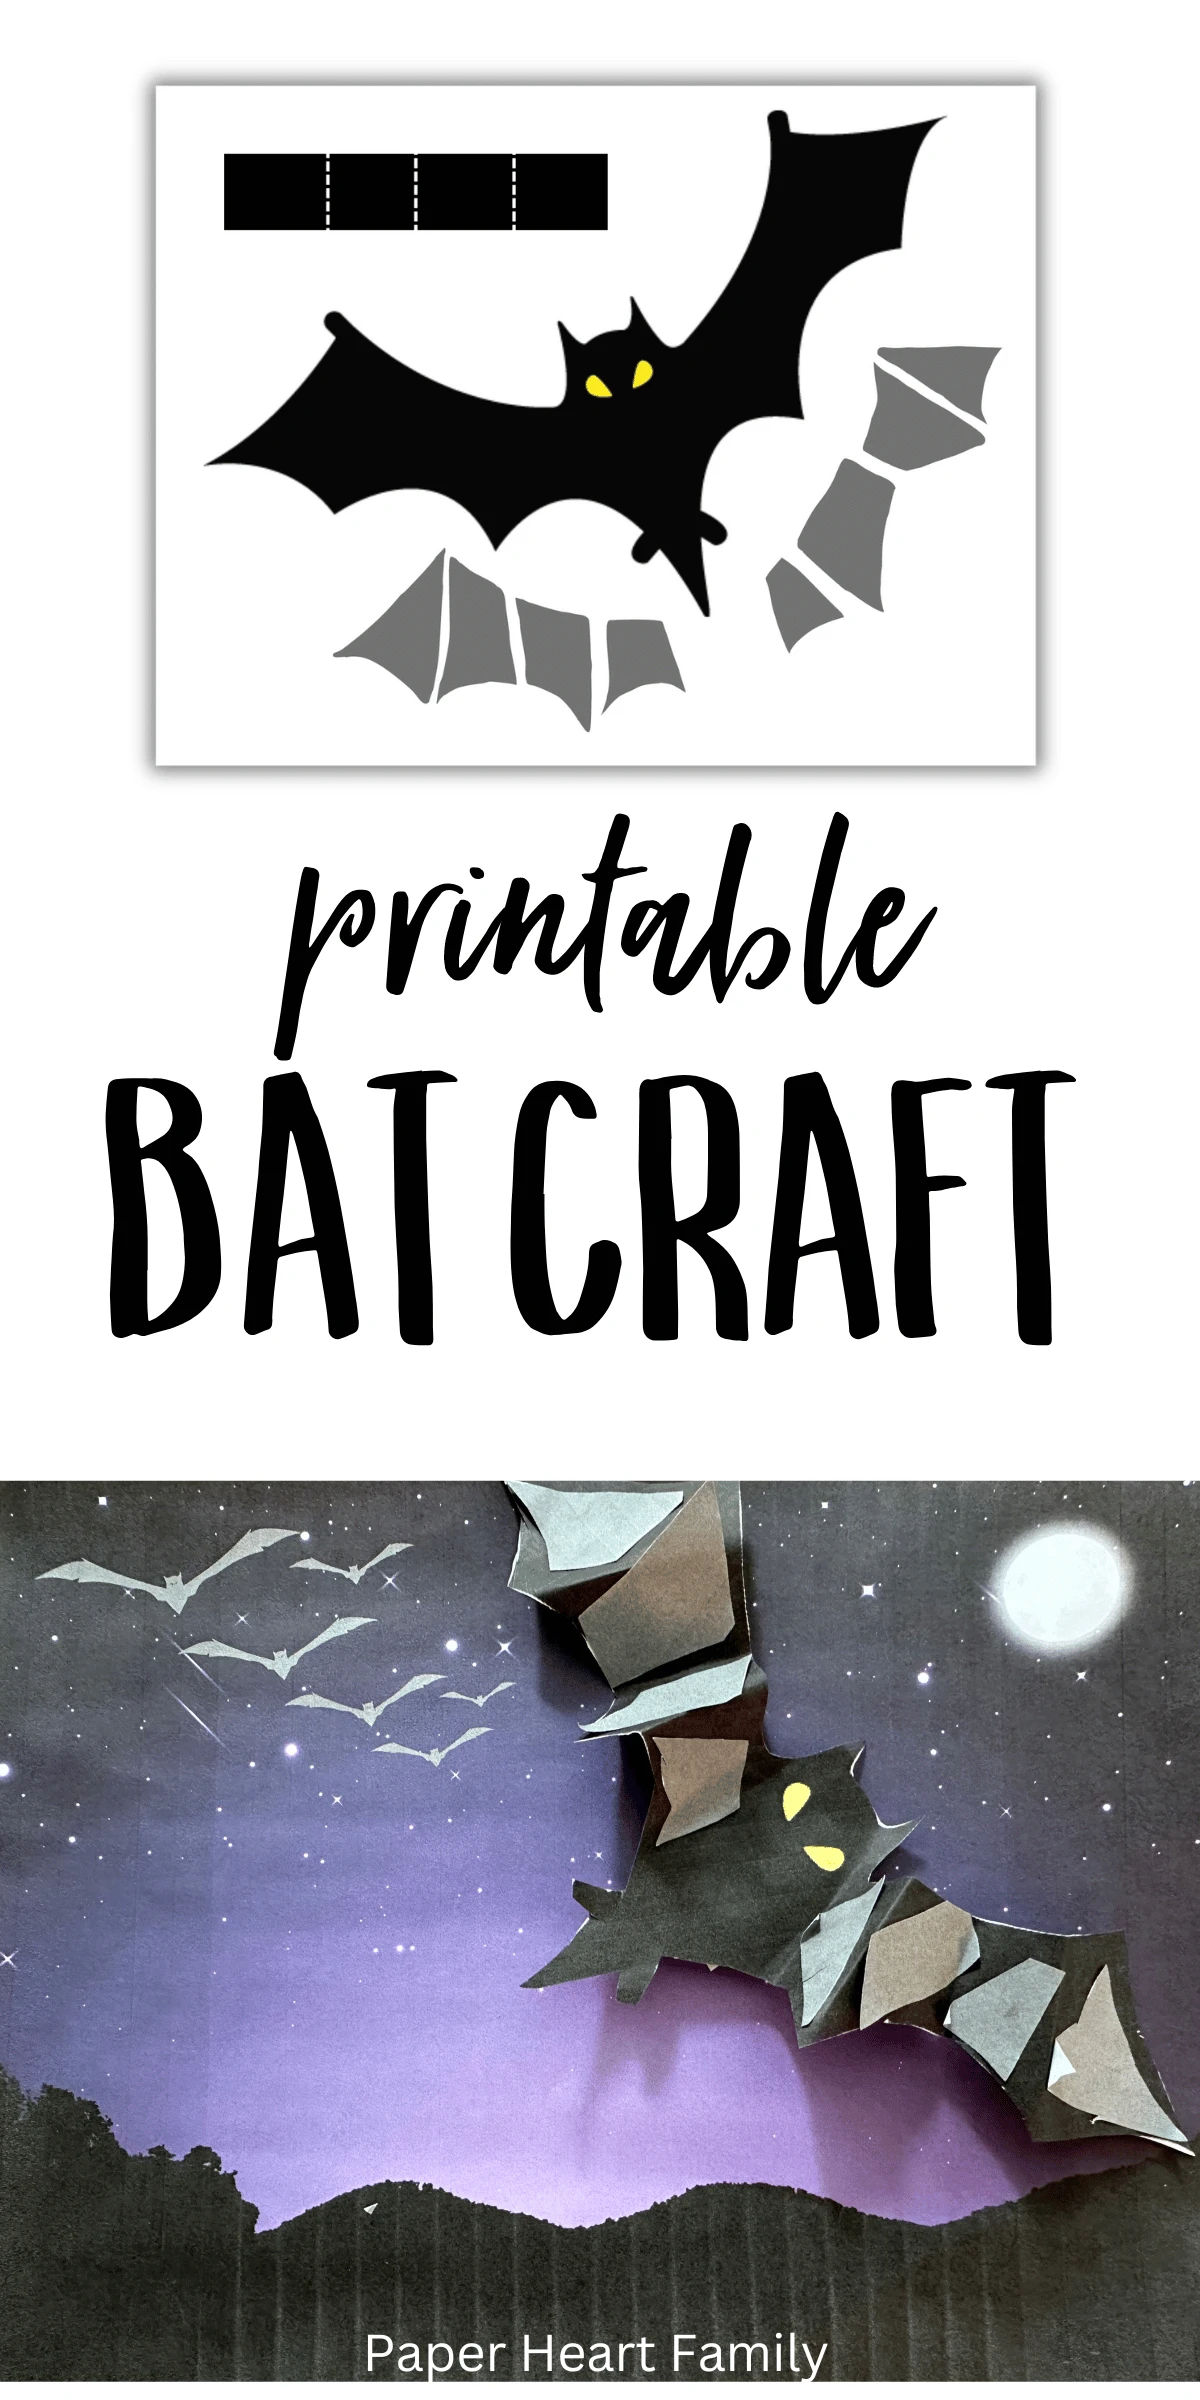
Printable Bat Craft
Spooky decorations are one of my favorite parts of decorating for the Halloween season and this Halloween bat does not disappoint! It’s the perfect amount of spooky and cute and will look great as a Halloween decoration!
This is the perfect craft for the whole family and is a great way to spend some time together, while also getting into the Halloween spirit!
This easy bat craft is great for kids of all ages and requires simple supplies you most likely have around your house: a glue stick, scissors and the printable templates (printer and white paper needed for this).
These toilet tube Halloween crafts are so cute too!
Bat Craft Suggestions
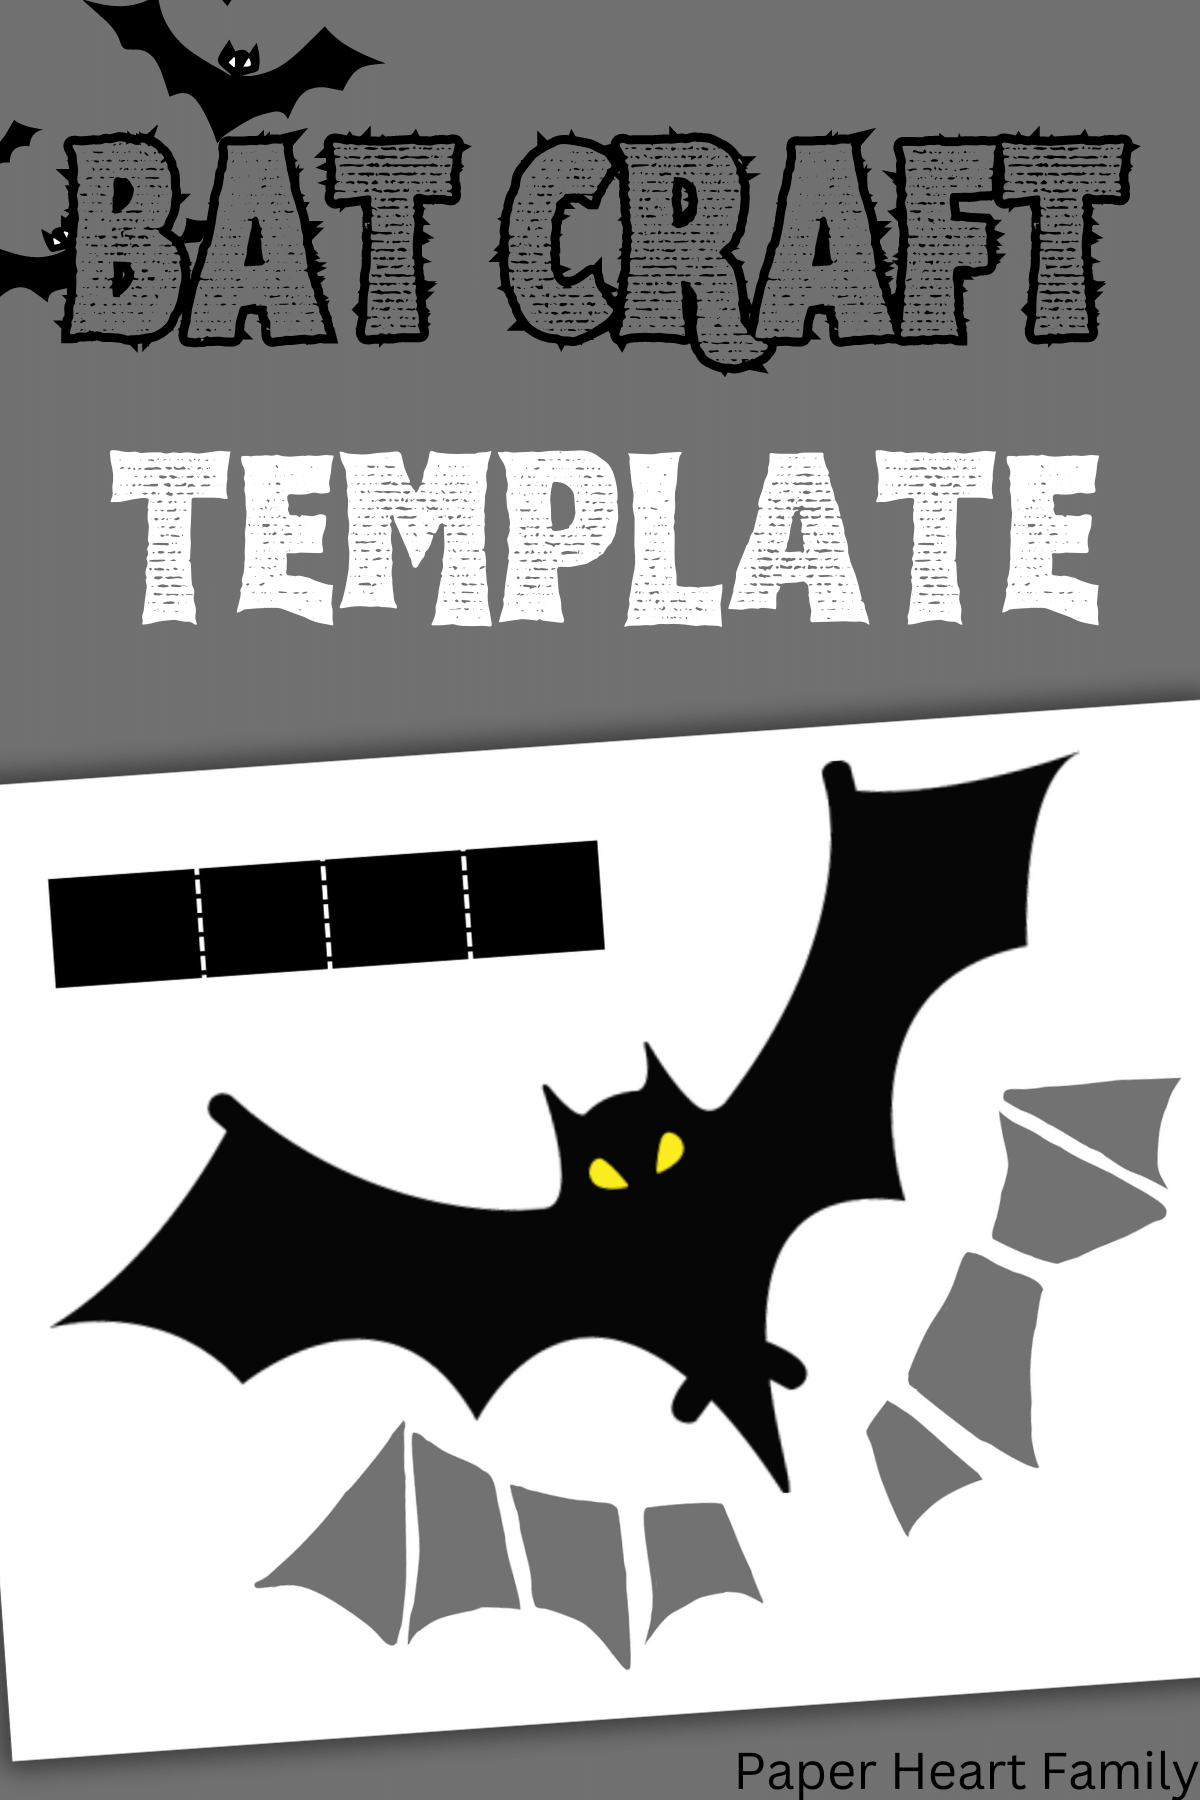
This easy Halloween craft is such a fun way to kick off the Halloween season and the best part is that it takes minimal prep. The free printable template comes with the printable background and bat shape template.
This cute bat craft can be modified to fit any kids level and is such an easy Halloween craft!
Here are some suggestions to make this Halloween bat craft even easier:
- This craft has a lot of cutting required. This is such a great way for younger children to practice hand-eye coordination and fine motor skills, even if they are not 100% on cutting yet. Here are some different ways to approach the cutting process:
- For younger children who are not yet cutting, have them help by holding the paper while you cut off the bigger white areas. This is a great way to model cutting while also getting them involved in this part of the craft.
- For beginning cutters, a great way to modify this fun bat craft for little hands is to have them cut out the perimeter of the paper (the big white chunks) and then you can cut out the actual body of the bat and the other shapes. My son loves doing this and likes to make this into a game of “your turn, my turn”.
- For younger children who can cut, have them cut out as many of the different shapes as they can. The body of the bat has some curved shapes that might be a little tricky. Encourage them to cut out all the pieces they can on their own and then you can help out with the more tricky parts like those pesky curved shaped bat wings.
- Older kids will do great at this! Remember if they get stuck or need help on any of the curved shapes, it’s totally fine to help them with those tricky parts.
- This craft has a good amount of little pieces and those little pieces like to disappear during the cutting process! To help with little pieces, have your child lay the pieces in one area as you cut, making sure they are far away enough from the actual cutting process. Once the cutting is done and the scraps are put in the garbage, then lay out the pieces you will use in order, this makes the gluing process much easier!
- This would be such an easy and fun Halloween party craft! Print enough for all the kids coming and let them go crazy with this easy Halloween craft!
- This is my favorite suggestion- learn more about bats! Bats are nocturnal animals and kids find these types of animals fascinating! There are a ton of great books about bats and I am sure you would be able to find some at your local library! Share your favorite books about bats in the comments below!
Printable Craft Steps

Here are some step-by-step instructions to make this cute bat craft even easier:
Step 1
Print out the craft background and bat craft template on white paper (thick paper like card stock works great!)
**I recently bought this supertank printer and I LOVE it! No more expensive ink that dries out so quickly.
Step 2
Cut out the bat craft template and all the pieces included. Remember this part of the craft can be modified to fit your child’s age and abilities.
Older kids can cut out the template on their own and younger children can have you help them with the curved shapes and maybe they can cut out the straight parts. Whatever works for you and your child is the best!
Step 3
The next step is laying out all of your pieces so your child can see all the parts of the bat craft template; this is a great strategy for kids of all ages.
Step 4
Gluing: The first thing your child will glue on is the gray pieces to the bat wings. This is a fun way to let them have a little ownership of where the pieces go and remember this step can also be modified to fit your child’s age and abilities.
Younger children might need help with the gluing and placing part, but can be included by holding your hand as you rub the glue stick on the pieces and also can help you push down on each piece once placed. Remember to have fun and meet your child where they are.
Step 5
After gluing on the gray pieces to the bat wings, gently fold the bat wings so that the wings have a curved shape to them (almost like an accordion). Younger children might need a little help with this part.
Step 6
The next step is similar to step 5. You need to cut the rectangle strip in half on the dotted line.
The two sides will then be folded on the dotted line and will be used to give the bat wings a little bounce to look like they are flying (You should have two little “v” shapes. You will attach one side of the “v” to the bat wing and the other side will be glued on to the paper).
Step 7
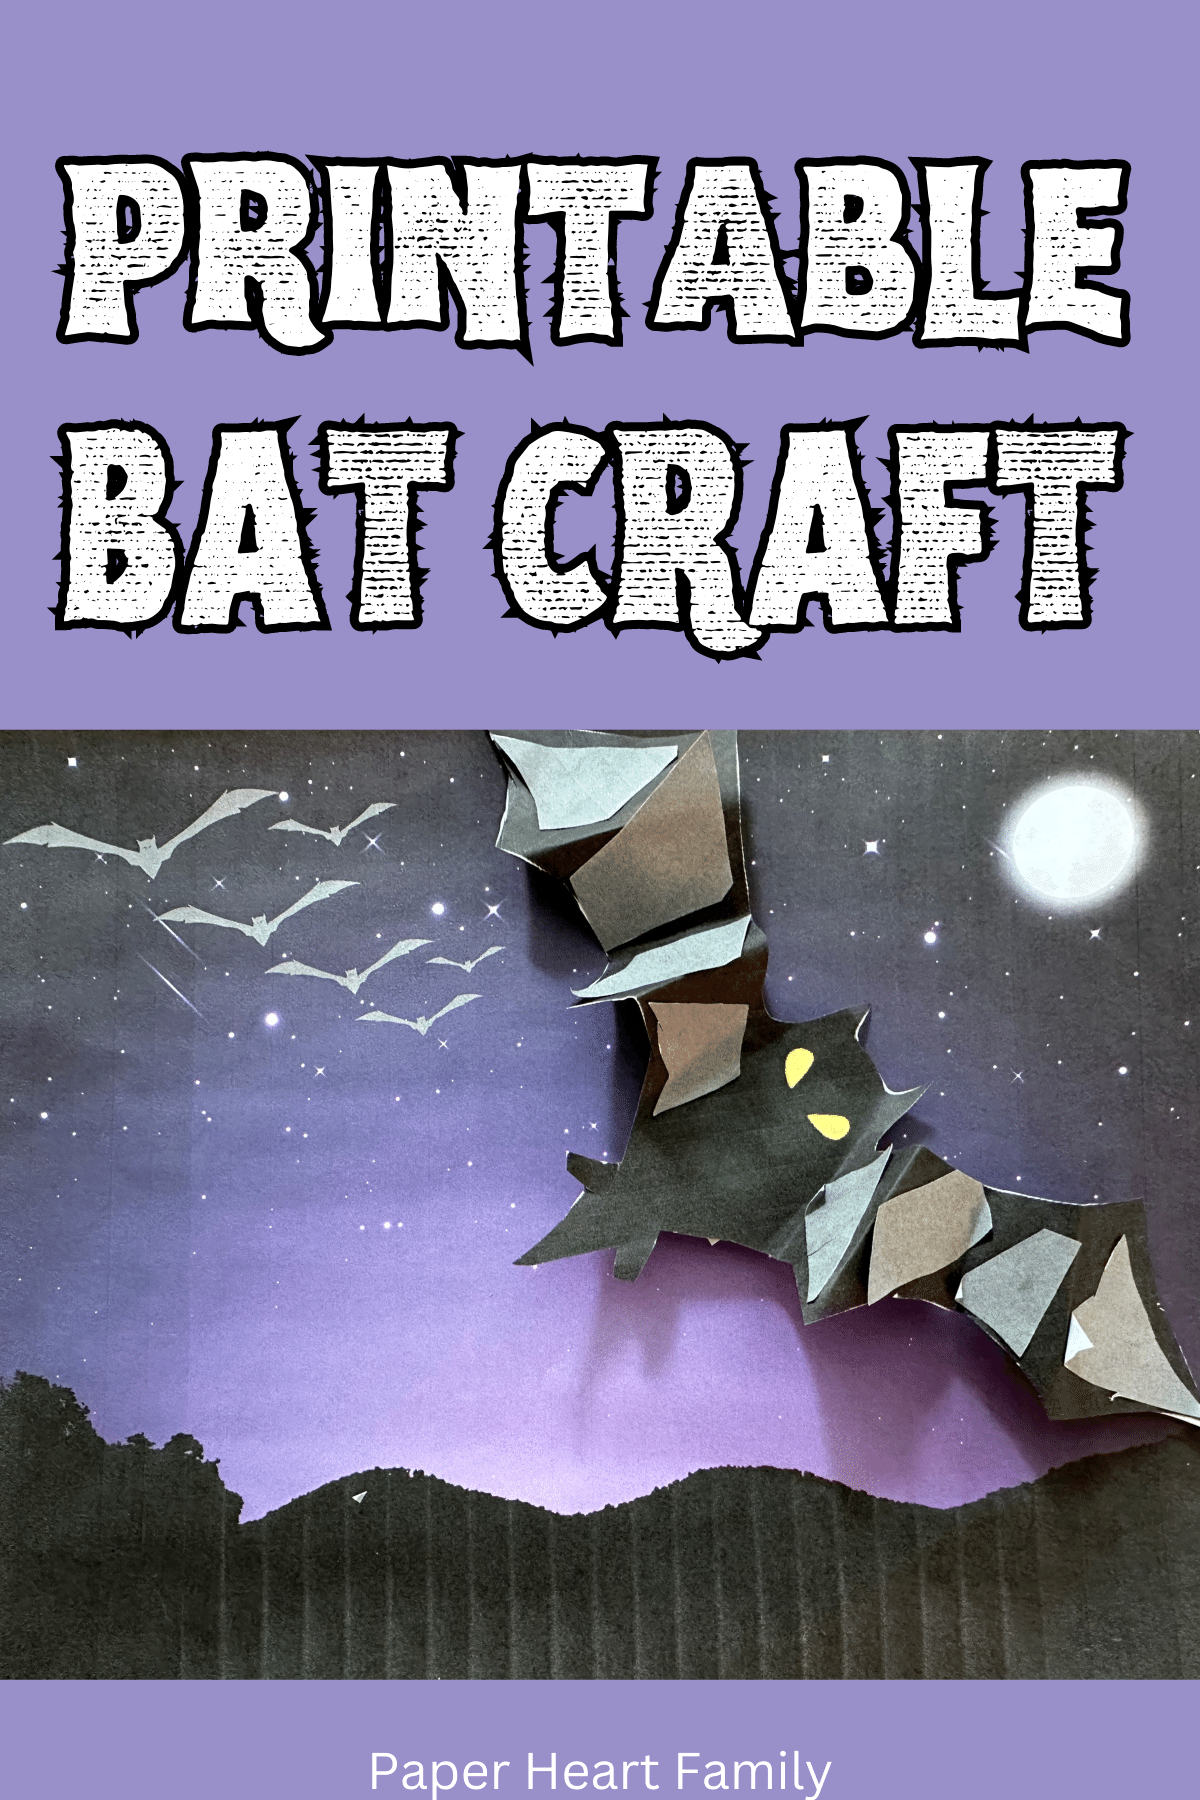
Now it’s time to decide where your bat will be flying! Once you have the spot picked, use a glue stick to put glue just on the back of the bat’s body and stick it down where you have chosen.
Then use a glue stick to glue down one side of the bats wings to one side of the “v” shape. Once that’s done, use the glue stick again to glue down the other side of the “v” to the paper.
Do this again to the other wing. When done, this will give the look like your bag is flying off the page.
Step 8
Let your kid make it their own bat: add googly eyes to the bat to make it a little sillier or some glitter glue to give it a sparkle.
Download Your Free Printable PDF

This easy Halloween craft will be a fun way to kick off the Halloween season! To download your free printable bat template, subscribe in the subscription box below and this cute bat craft will download instantly. Once subscribed, you will receive an email with more fun crafts, activities and free printables like this one!
Looking for even more Halloween fun? Check out these great Halloween activities: Halloween Mad Libs, Halloween Guess Who, Halloween Scattergories.
Editable Name Halloween Coloring Pages
Tuesday 7th of October 2025
[…] our kiddo, this means all the Halloween activities we can find! We love doing Halloween crafts, making halloween treats and finding ALL the free printables we can to get us into the spirit of […]
12 Super Fun Halloween Costumes For Families Of Three
Monday 22nd of July 2024
[…] costume ideas. Don’t forget to try out some Halloween crafts like these adorable printable bats or these fun games like Halloween guess who or Halloween mad libs! Do you have […]
44 Leuke Halloween-kinderknutsels - Bouw en Verbouw
Friday 29th of December 2023
[…] Afdrukbare vleermuisambacht – door Paper Coronary heart Household […]
Krystal
Sunday 19th of November 2023
Cute idea!
Free Printable Fish Craft For Kids To Make With Paper
Wednesday 1st of November 2023
[…] sure you also check out our dinosaur craft printable, butterfly printable and bat printable! Let me know how this craft went in the box […]