
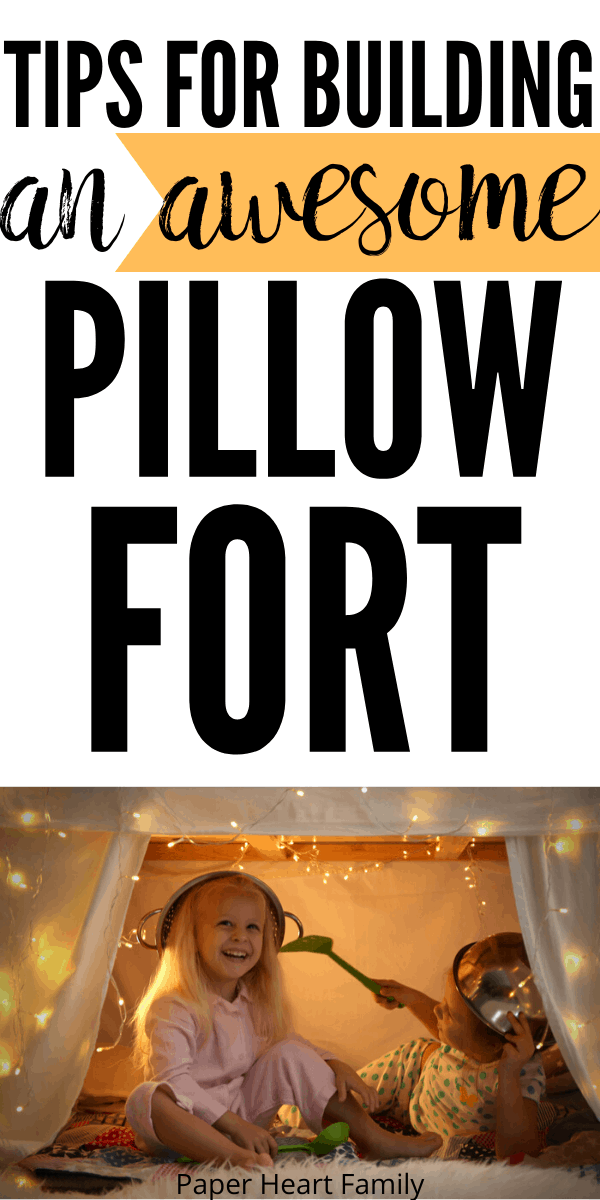
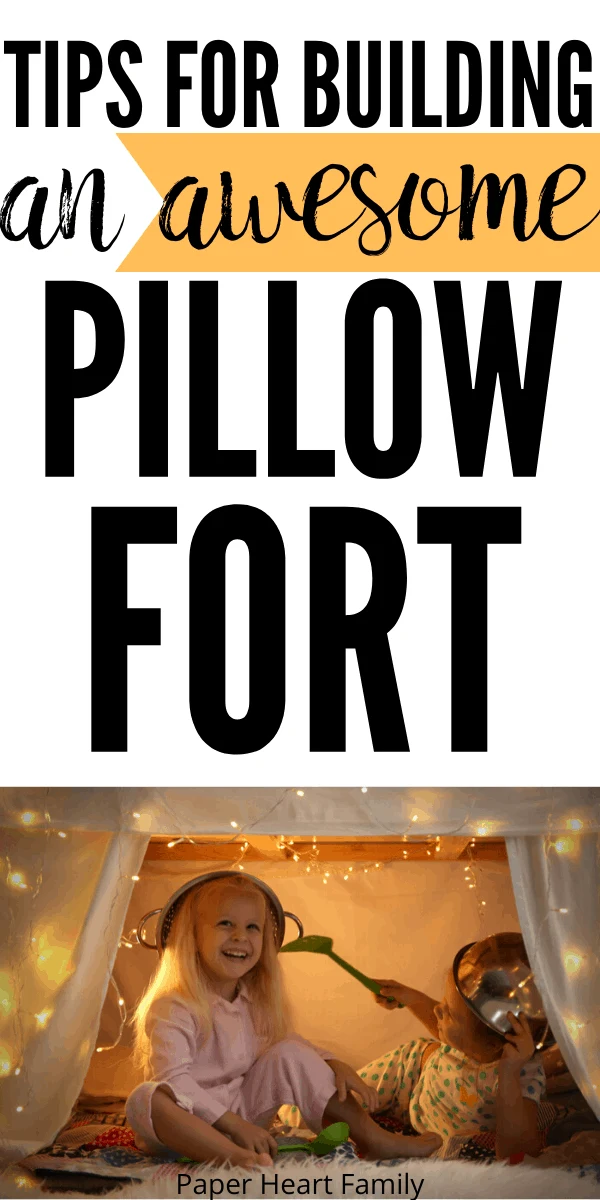
A pillow fort is a fun, low-cost activity that can get the entire family involved in something creative and fun. As a bonus, these forts only require a few, common household items to get started.
Pillow forts are a great way to have fun inside, and beat the heat during a hot summer. Once you’ve created your fort, you can then have fun family time playing games, reading books or just spending time together inside of your very own creation.
It’s the perfect activity for active kids or activities to keep toddlers busy.
Here is a step-by-step guide on creating the ultimate fort:
How To Make A Pillow Fort
Step 1: Gather Supplies
Pillow forts can be largely adapted to fit your family’s needs, and are most commonly made with everyday household items. Though there are a few staples that must be included (like pillows, for example), the rest of the items used to build the walls and support of the fort can be customized to your family.
Here are some common items used in pillow forts:
- Blankets
- Sheets
- Pillows
- Chairs
- Decorations
Step 2: Choose a Location
Choosing a location for your fort can make or break your experience inside. Try to pick a well-ventilated area that is close to sunlight but won’t get too hot. If possible, try to also build your fort around an electrical outlet so you can plug in a lamp, phone or computer chargers, or any other electronics you want to bring inside of your fort.
Step 3: Build the Base
The base of a pillow fort is usually made from a sofa, table or other big piece of furniture that can serve as the support system for the entire mechanism. This anchor piece should be a larger and heavier item that will either serve as the back wall or the center of the entire fort, and do the bulk of the heavy lifting. To build the base, attach the sheets and blankets that will make up the walls to the couch, chair, table or whatever you choose as the base of your fort.
Step 4: Build the Roof
Building the roof is the next step that will make sure your fort has a strong support system. To make the roof of your fort, pick a lightweight and sturdy sheet and attach it to the sides and base of your fort. You can use multiple sheets or blankets depending on how big you want the fort to be! You can also attach the roof sheet to a wall with pushpins if you’re building your fort against a wall in your home.
Step 5: Make the Walls
To cover holes between your base and roof, use lightweight sheets and blankets. Drape these items on your pillow fort where there is a gap, and allow them to cover the holes and add some fun texture and color to your fort. Use light-weight, light-colored sheets and blankets so your fort doesn’t trap heat inside and become too hot!
Step 6: Decorate the Fort
Once you’ve got the structure created, it’s time for the fun part: decorating! There are so many fun themes you can choose from that will take your fort to the next level and make it fun for all who enter. Bring in string lights, lamps, rugs, decorative pillows and whatever else you can find to create the pillow fort of your dreams for maximum relaxation and fun.
Step 7: Add Personal Touches
Making your fort personal for you and your family can make it more fun to spend time inside. Consider making a fun, festive sign or bringing in your family’s favorite things to make the fort all your own and a sanctuary where you can have fun together as a family. For added whimsy and personalization, check out the following pillow fort printables.
You could also incorporate these fun indoor camping printable activities!
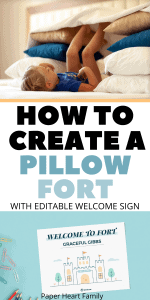
Customizable Welcome Sign

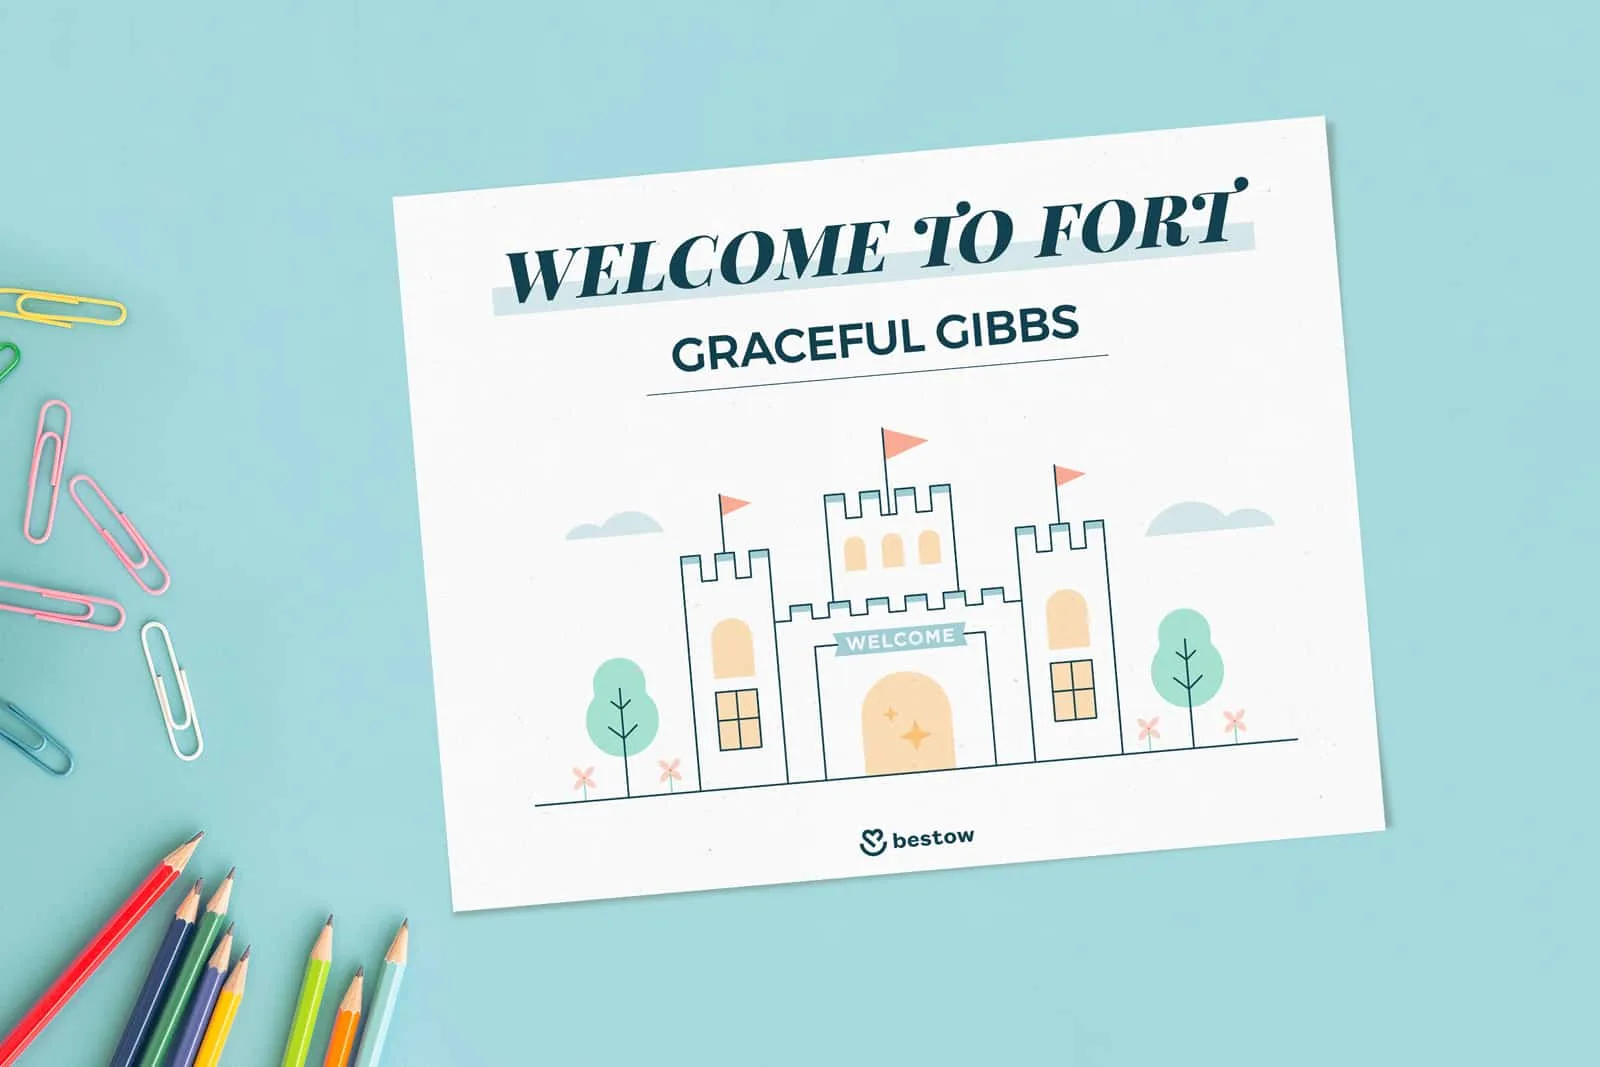
Download this customizable welcome sign to give your fort a name that is all your own. Attach it to your fort with tape or string!
Printable Garden
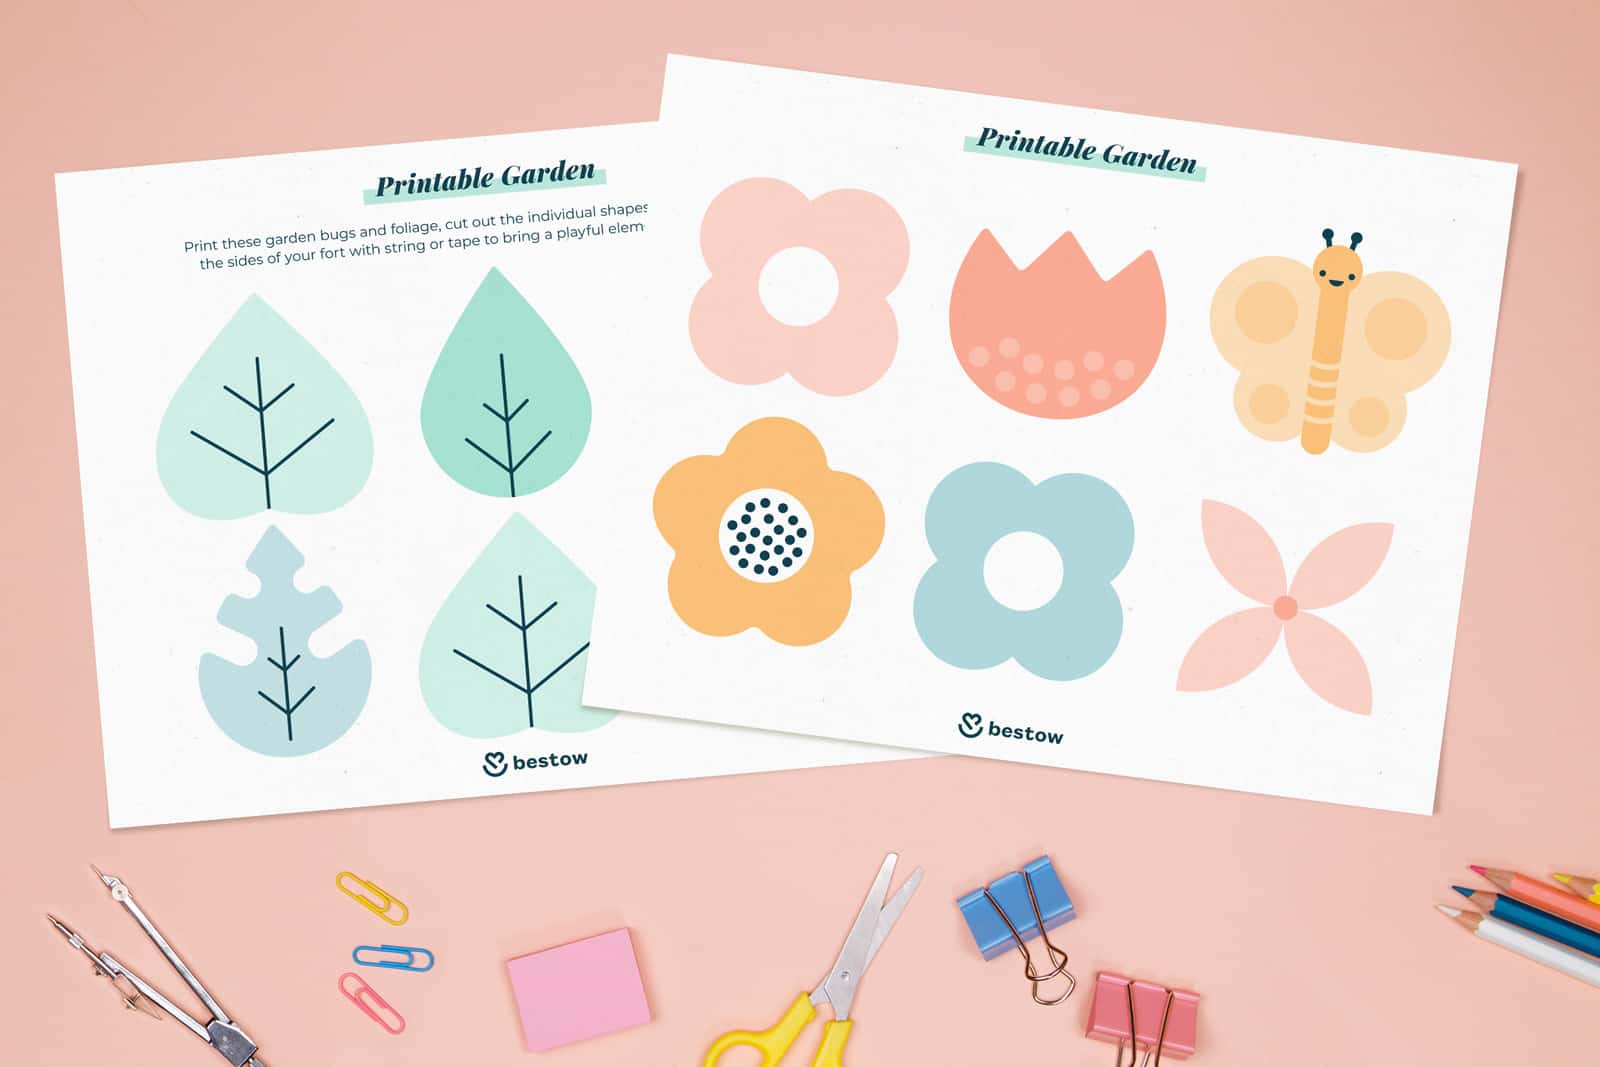
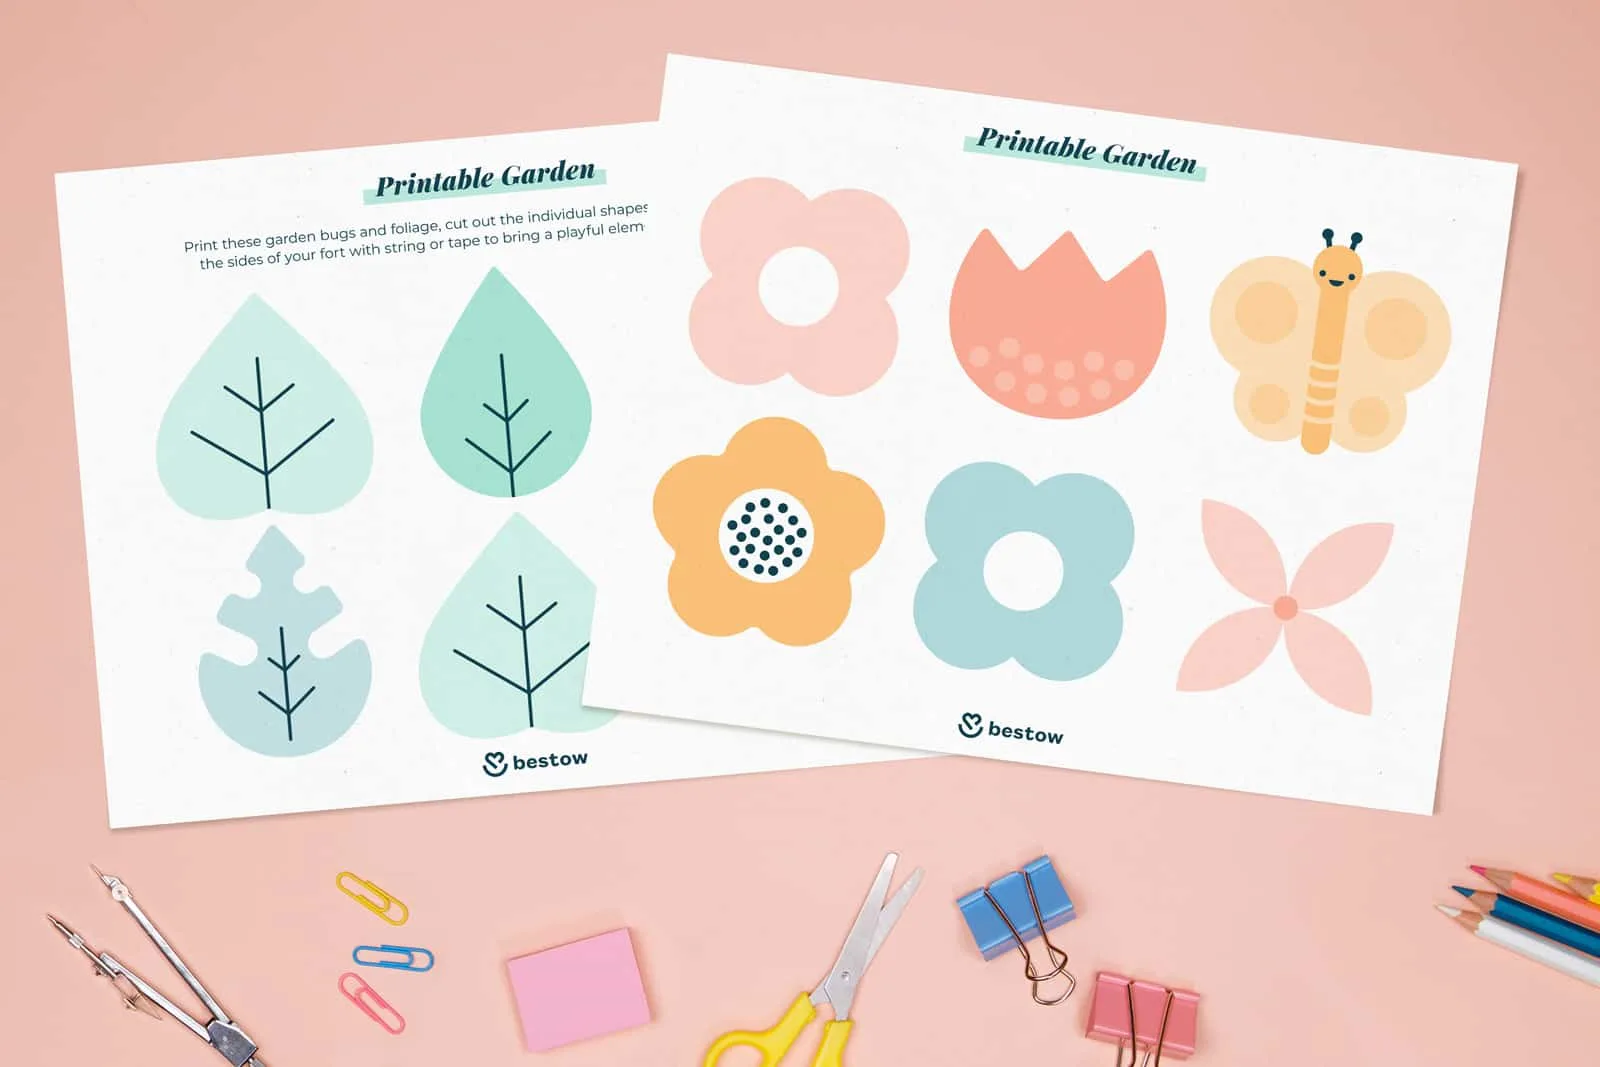
Print out these fun garden plants and bugs to add a touch of whimsy to your fort. Attach them to the sides of your structure with tape or string and enjoy feeling like you just stepped into a fairy’s cove.
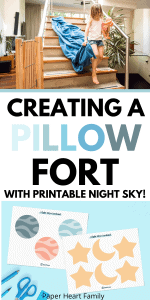
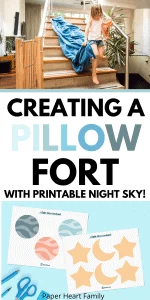
Printable Night Sky
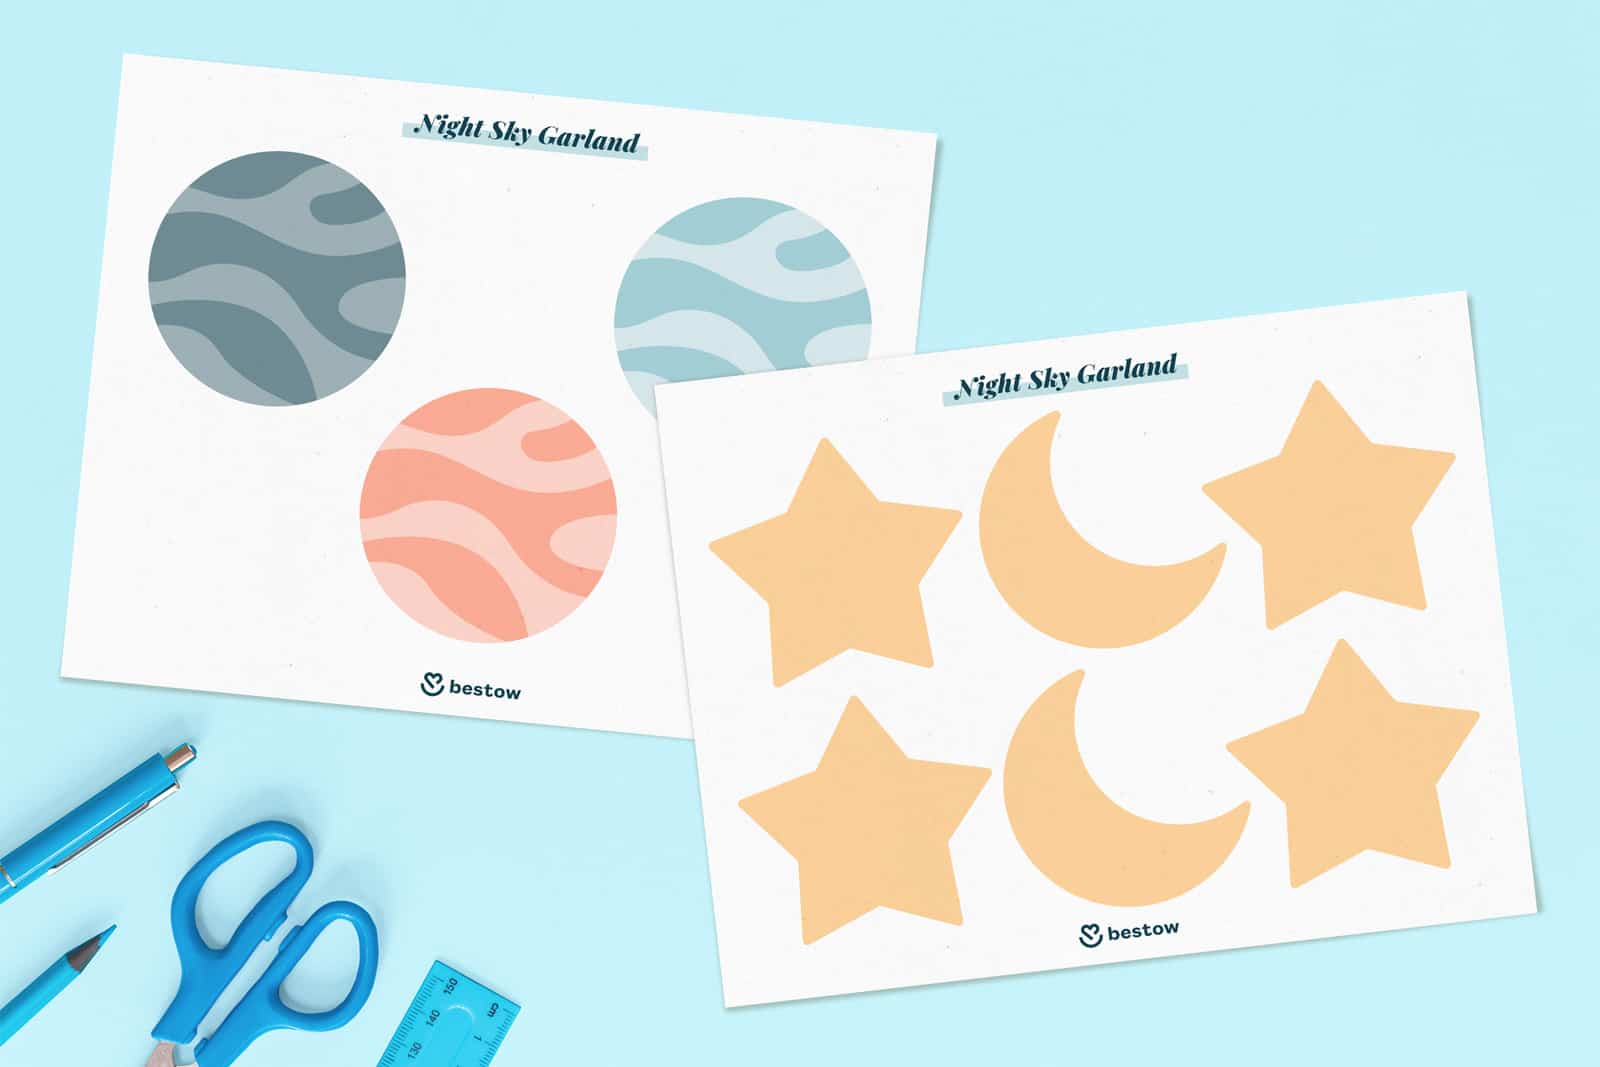

Print out these stars and planets to create a night sky in your bedroom. Hang them from the top of your fort or attach them to string lights to give yourself the sensation of being in space or gazing up at the night sky from a campsite. Bring a real outdoor adventure into your living room!
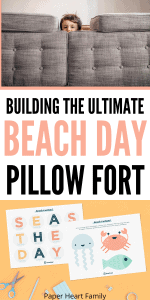
Beach Day Garland
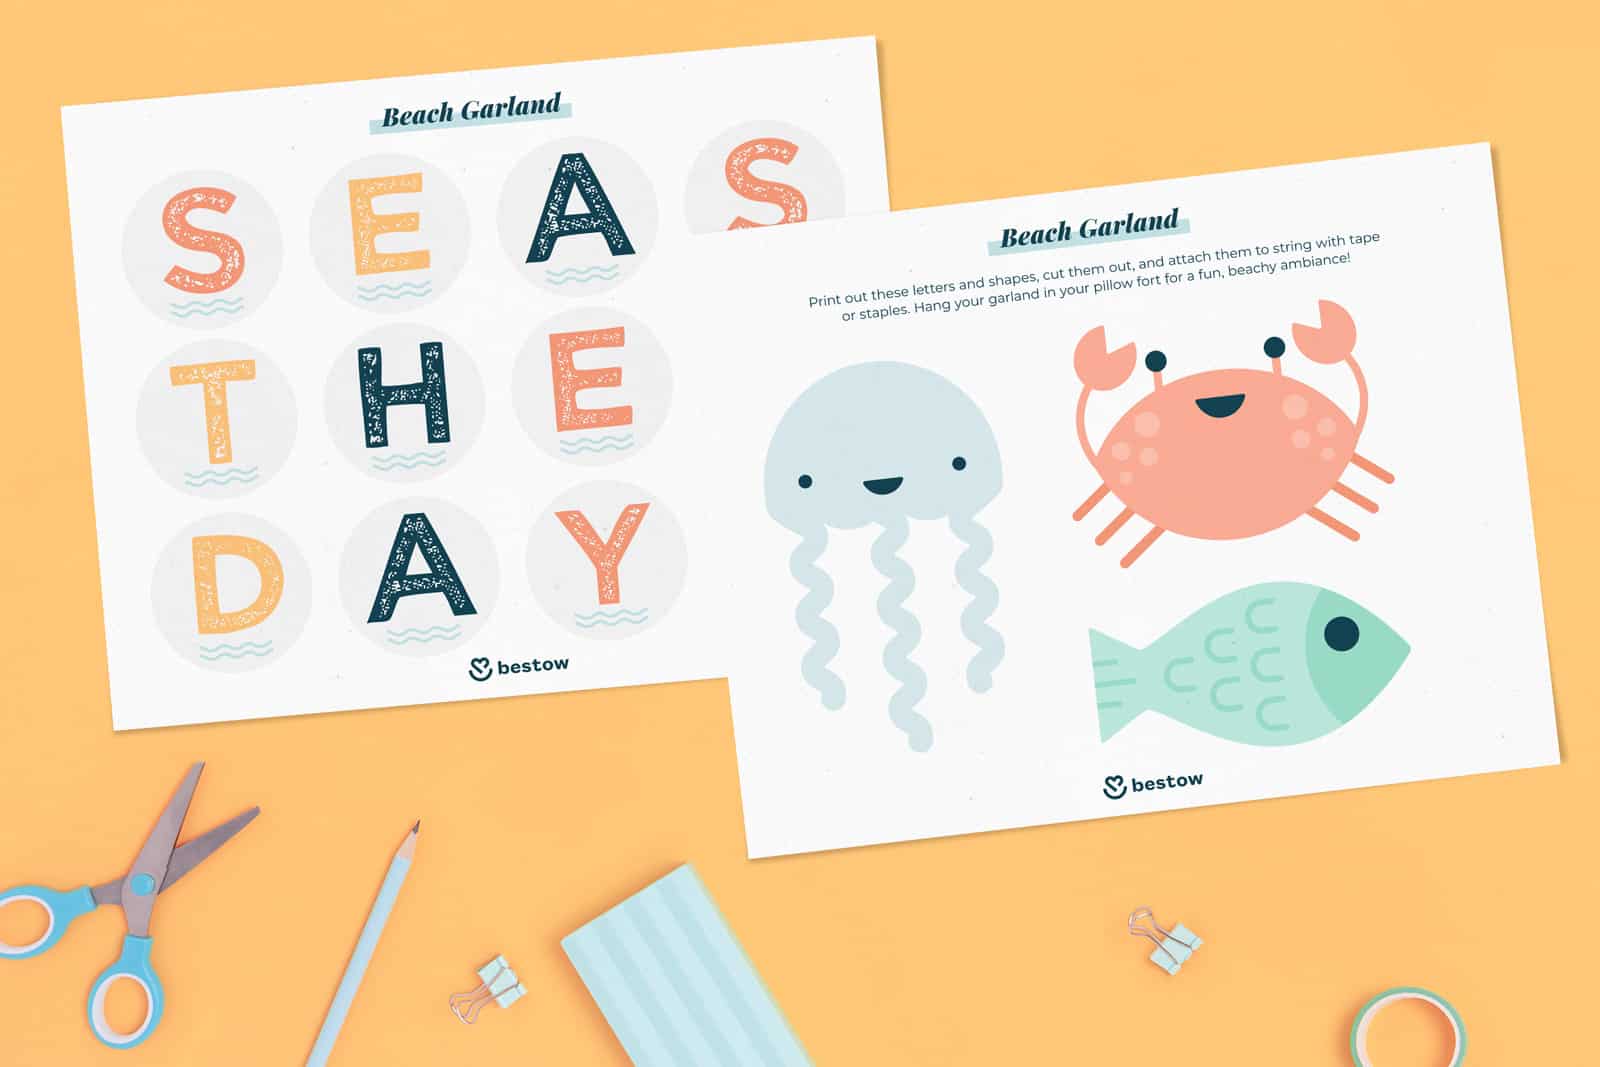
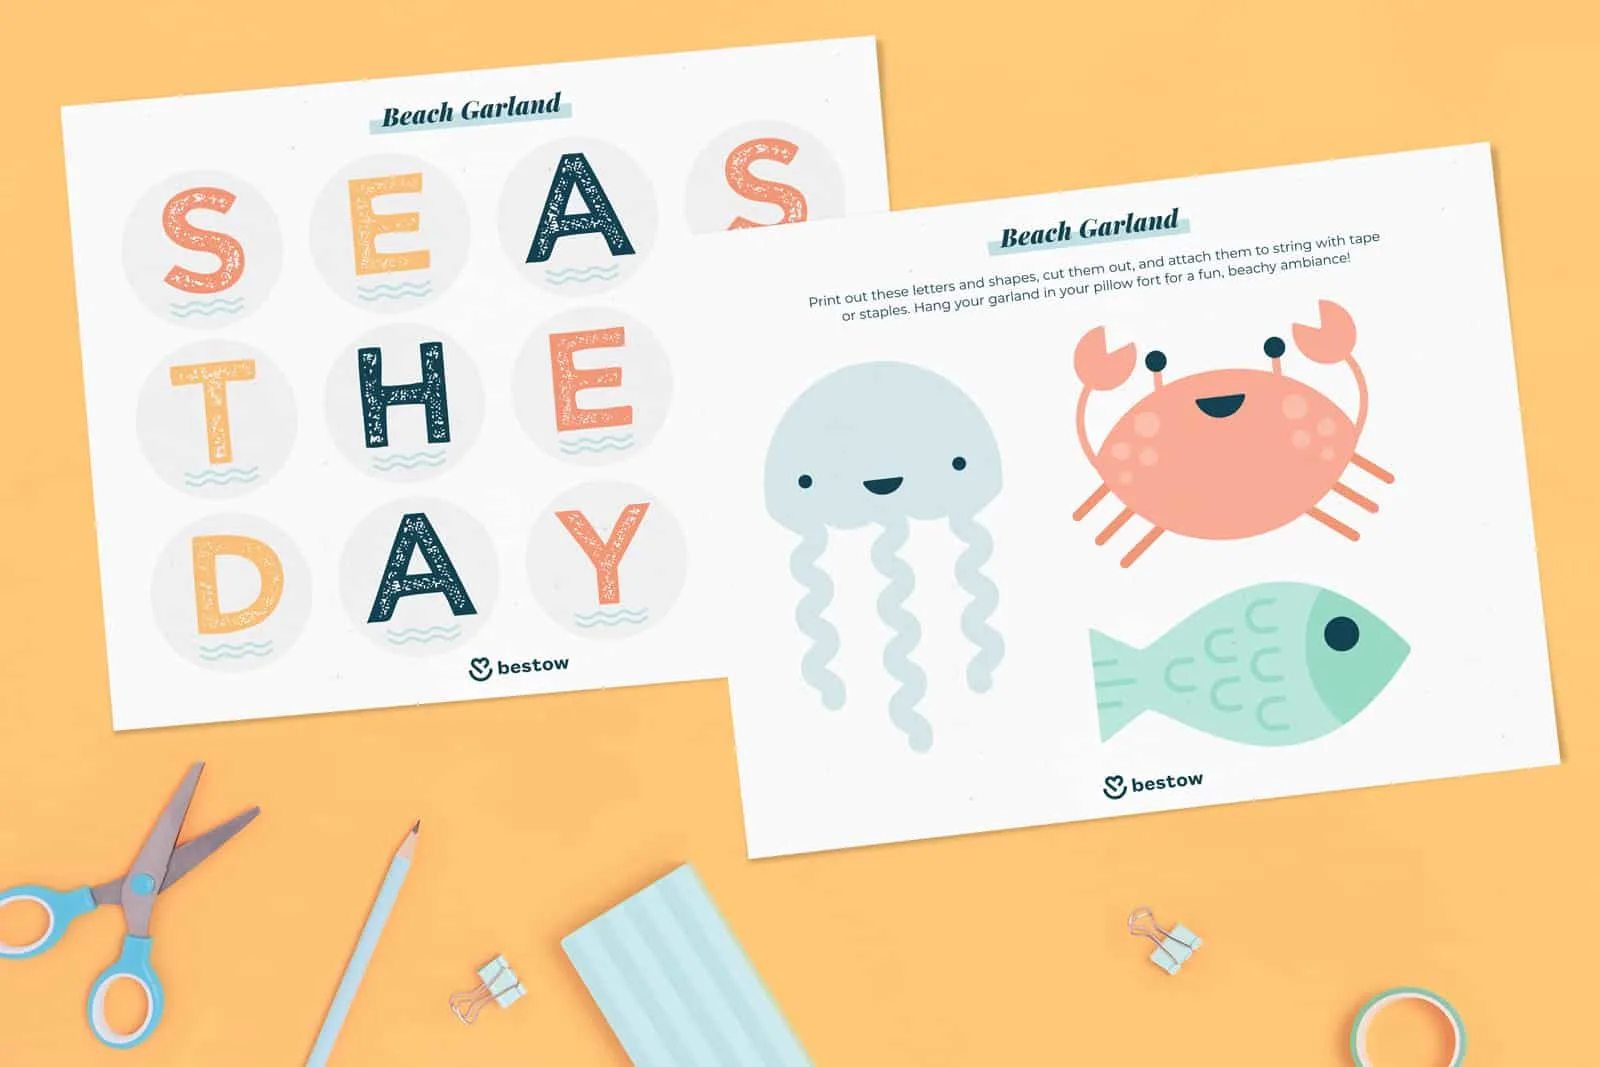
Print out this beach day garland to bring the fun feeling of a beach tent into your home. String the letters and marine animals together on a string and hang it in your fort to get yourself into a beachy mood. Then get ready to relax!
I hope you love creating your very own ultimate pillow fort with your family!


30 Mom And Toddler Activities You'll Both Love!
Friday 13th of March 2026
[…] building a pillow fort in your family […]
How To Make A Pillow Fort With 4 Pillows: Easy And Cozy Ideas » MakerForte.Blog
Sunday 15th of June 2025
[…] card games, or even play mobile games together in this cozy space. The intimate atmosphere of a pillow fort makes any activity feel special and […]
20 Independent Activities For Kids Who Can't Play Alone
Monday 17th of July 2023
[…] permission to transport to a whole new world! (cue Disney music here). Build them this fun pillow fort and throw some books and a flashlight in […]
Inside Activities For High Energy Kids- 50 Ways To Burn Off Energy
Monday 24th of April 2023
[…] use what you have around the house to create the ultimate pillow fort, for hours of […]
11 Things to Do With A 2 Year Old Everyday
Tuesday 18th of April 2023
[…] Build a pillow fort together and then watch as your toddler plays in it independently all afternoon! […]